Hi everyone,
I have had such a lovely half term pottering: reading (latest William Boyd); cooking (including homemade soups); eating out; visiting the cinema (Dad’s Army); marking (Years 9, 10, 11); knitting (scarf – still on-going); running (10K coming up next month) and sewing (ties x 2, sweatshirts x 2) BUT what I really want to share you today is my finally finished Sew Over It Francine Jacket of which I am super proud. Beware – this is a picture heavy post: we are talking about a jacket six months in the making!

Way back in August I met up with some lovely ladies at the Fabric Godmother Open Day and bought this amazing wool suiting fabric for, I think, £15 a metre. I had it in mind to make a maxi skirt suit so that I could waft around at work looking like a suffragette.

Skirt in check; jacket in plain
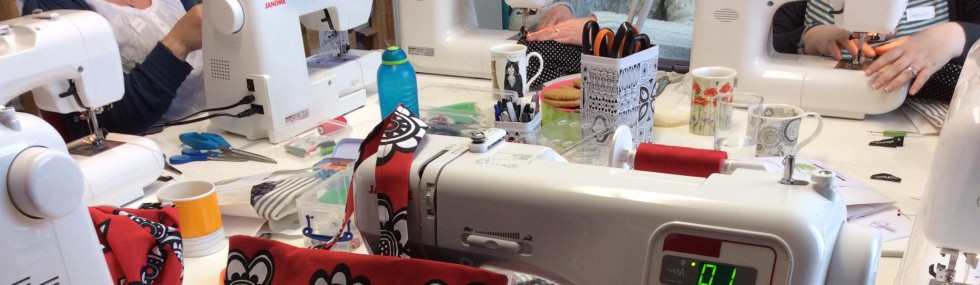
I only bought 1.5 metres of the plain because I always find that I use less that the pattern indicates. Then I promptly started sewing other things – as you do. However, as soon as I saw the Francine Jacket I knew that was the one for me and enrolled on a course in September. If you are a regular reader of my blog you will know that I have done a number of courses at Sew Over It. For nearly all of them I have had as my tutor Julie, who is wonderfully patient, highly skilled and determined that her tutees should learn true tailoring techniques. On the first night all I did was sort out the sizing, cut out my pattern and make some adjustments – most of which I subsequently altered back. My homework was to cut out at home – this happened:

Oops
I decided I would have to cut a few pieces out of the skirt material – what a good idea this turned out to be as the contrast really works and it will certainly look much more like a suit rather than coordinated separates.

Francine jacket pieces cut from my Gabriola skirt fabric
Progress continued at class during week two. We had made a number of alterations for my big shoulders and curved back but once I tried the jacket on it wasn’t right and I had to undo most of what I had done.

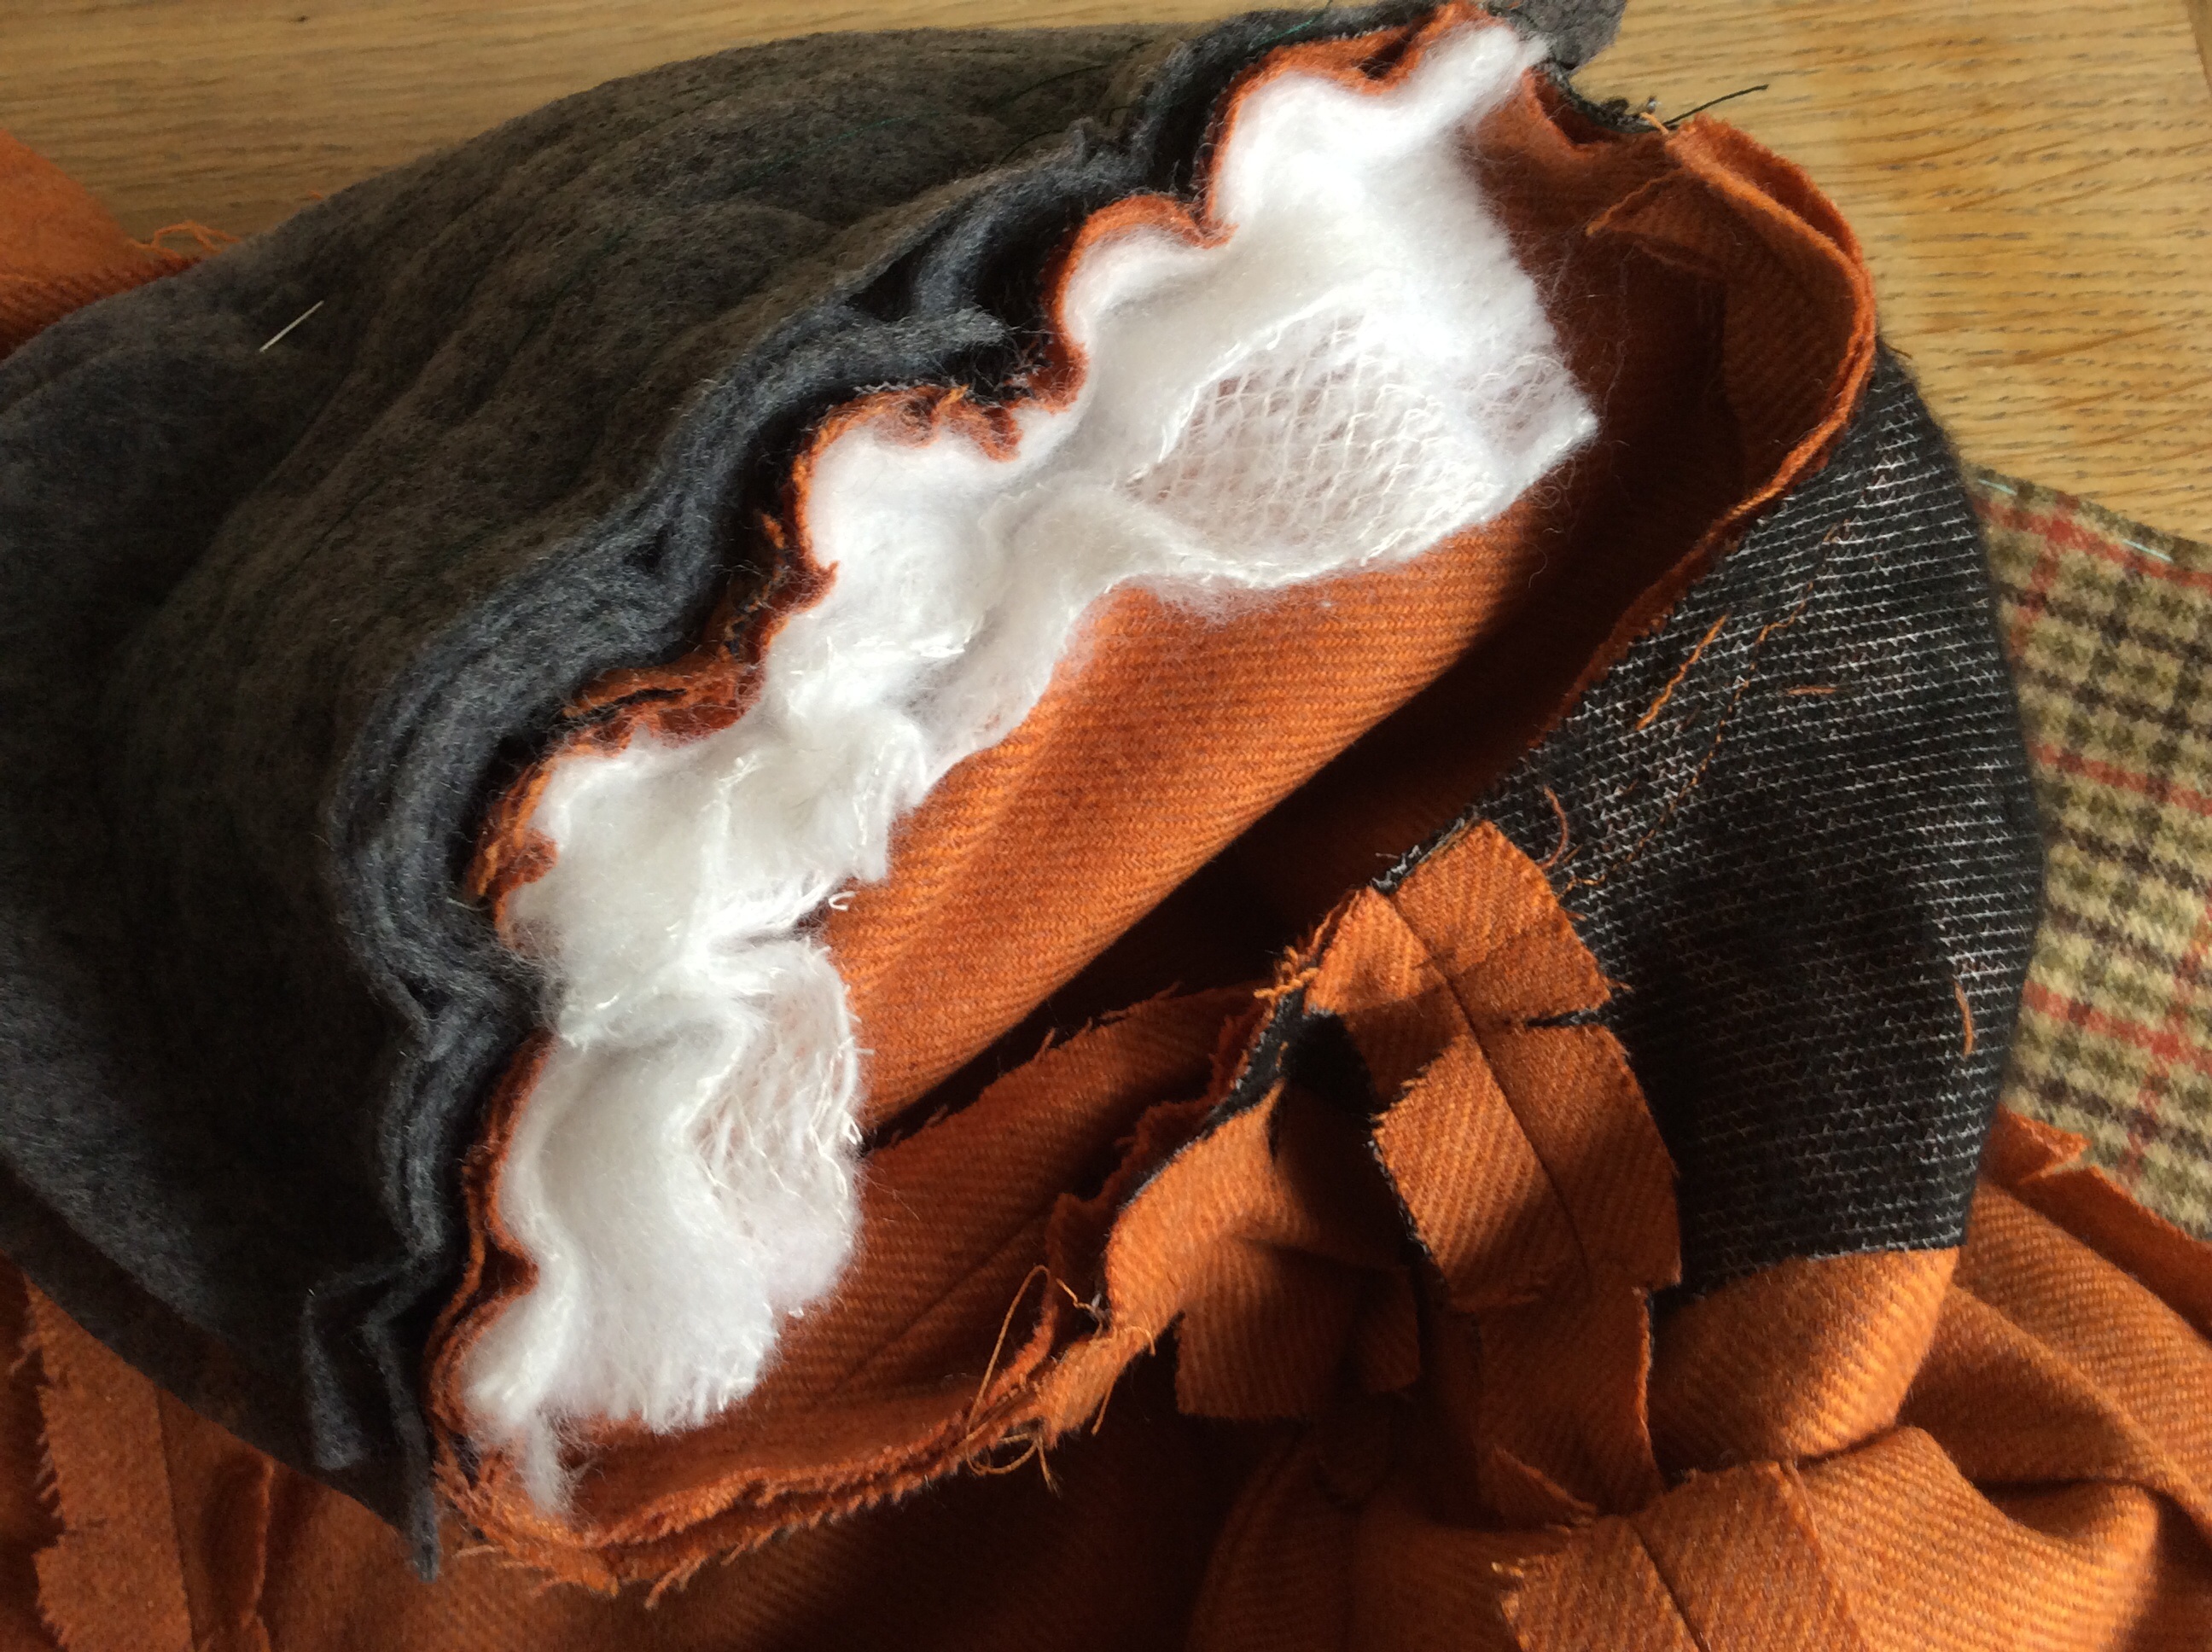
Week three – our final class and it became clear early on I wasn’t going to get finished. In fact I hadn’t even got my lining in by the end of the evening. What I had done though is learn a really valuable technique whereby you fill the sleeve head with wadding before you insert the shoulder pad and it gives it a more smooth line.
I was full of good intentions of finishing the jacket the following week but became ensconced in all manner of other things throughout November/December. During January I picked it up again. The impetus was that I was going to the Liberty exhibition and planned to call in on the button man in Soho for him to do my button holes for me. I am not going to lie – I really struggled to finish the jacket by myself. Whilst the instructions were good, I struggled to make out the tiny detail, particularly on the black and white photos. If the button man thought it odd to be presented with an unfinished garment to add the finishing touches to, he never gave any indication – just sent me off to Liberty and told me not to rush back!
This is how the jacket looked when the buttonholes were being done

I finally finished the jacket in February – to be honest, looking at the pics I think I should have taken more care over pressing it; the jacket has gotten so squashed on its various train journeys.

So there you have it – now I just have to get on with the skirt but I suspect other projects will rush to the fore and it’ll be another six months. Would you like some detail shots? Of course you would if you have stuck around this far ..

Buttons courtesy of Cloth Kits, Chichester

very pleased with the neckline which actually sits flat

The back – we added in, took out, re-drew the curve – I blame my posture
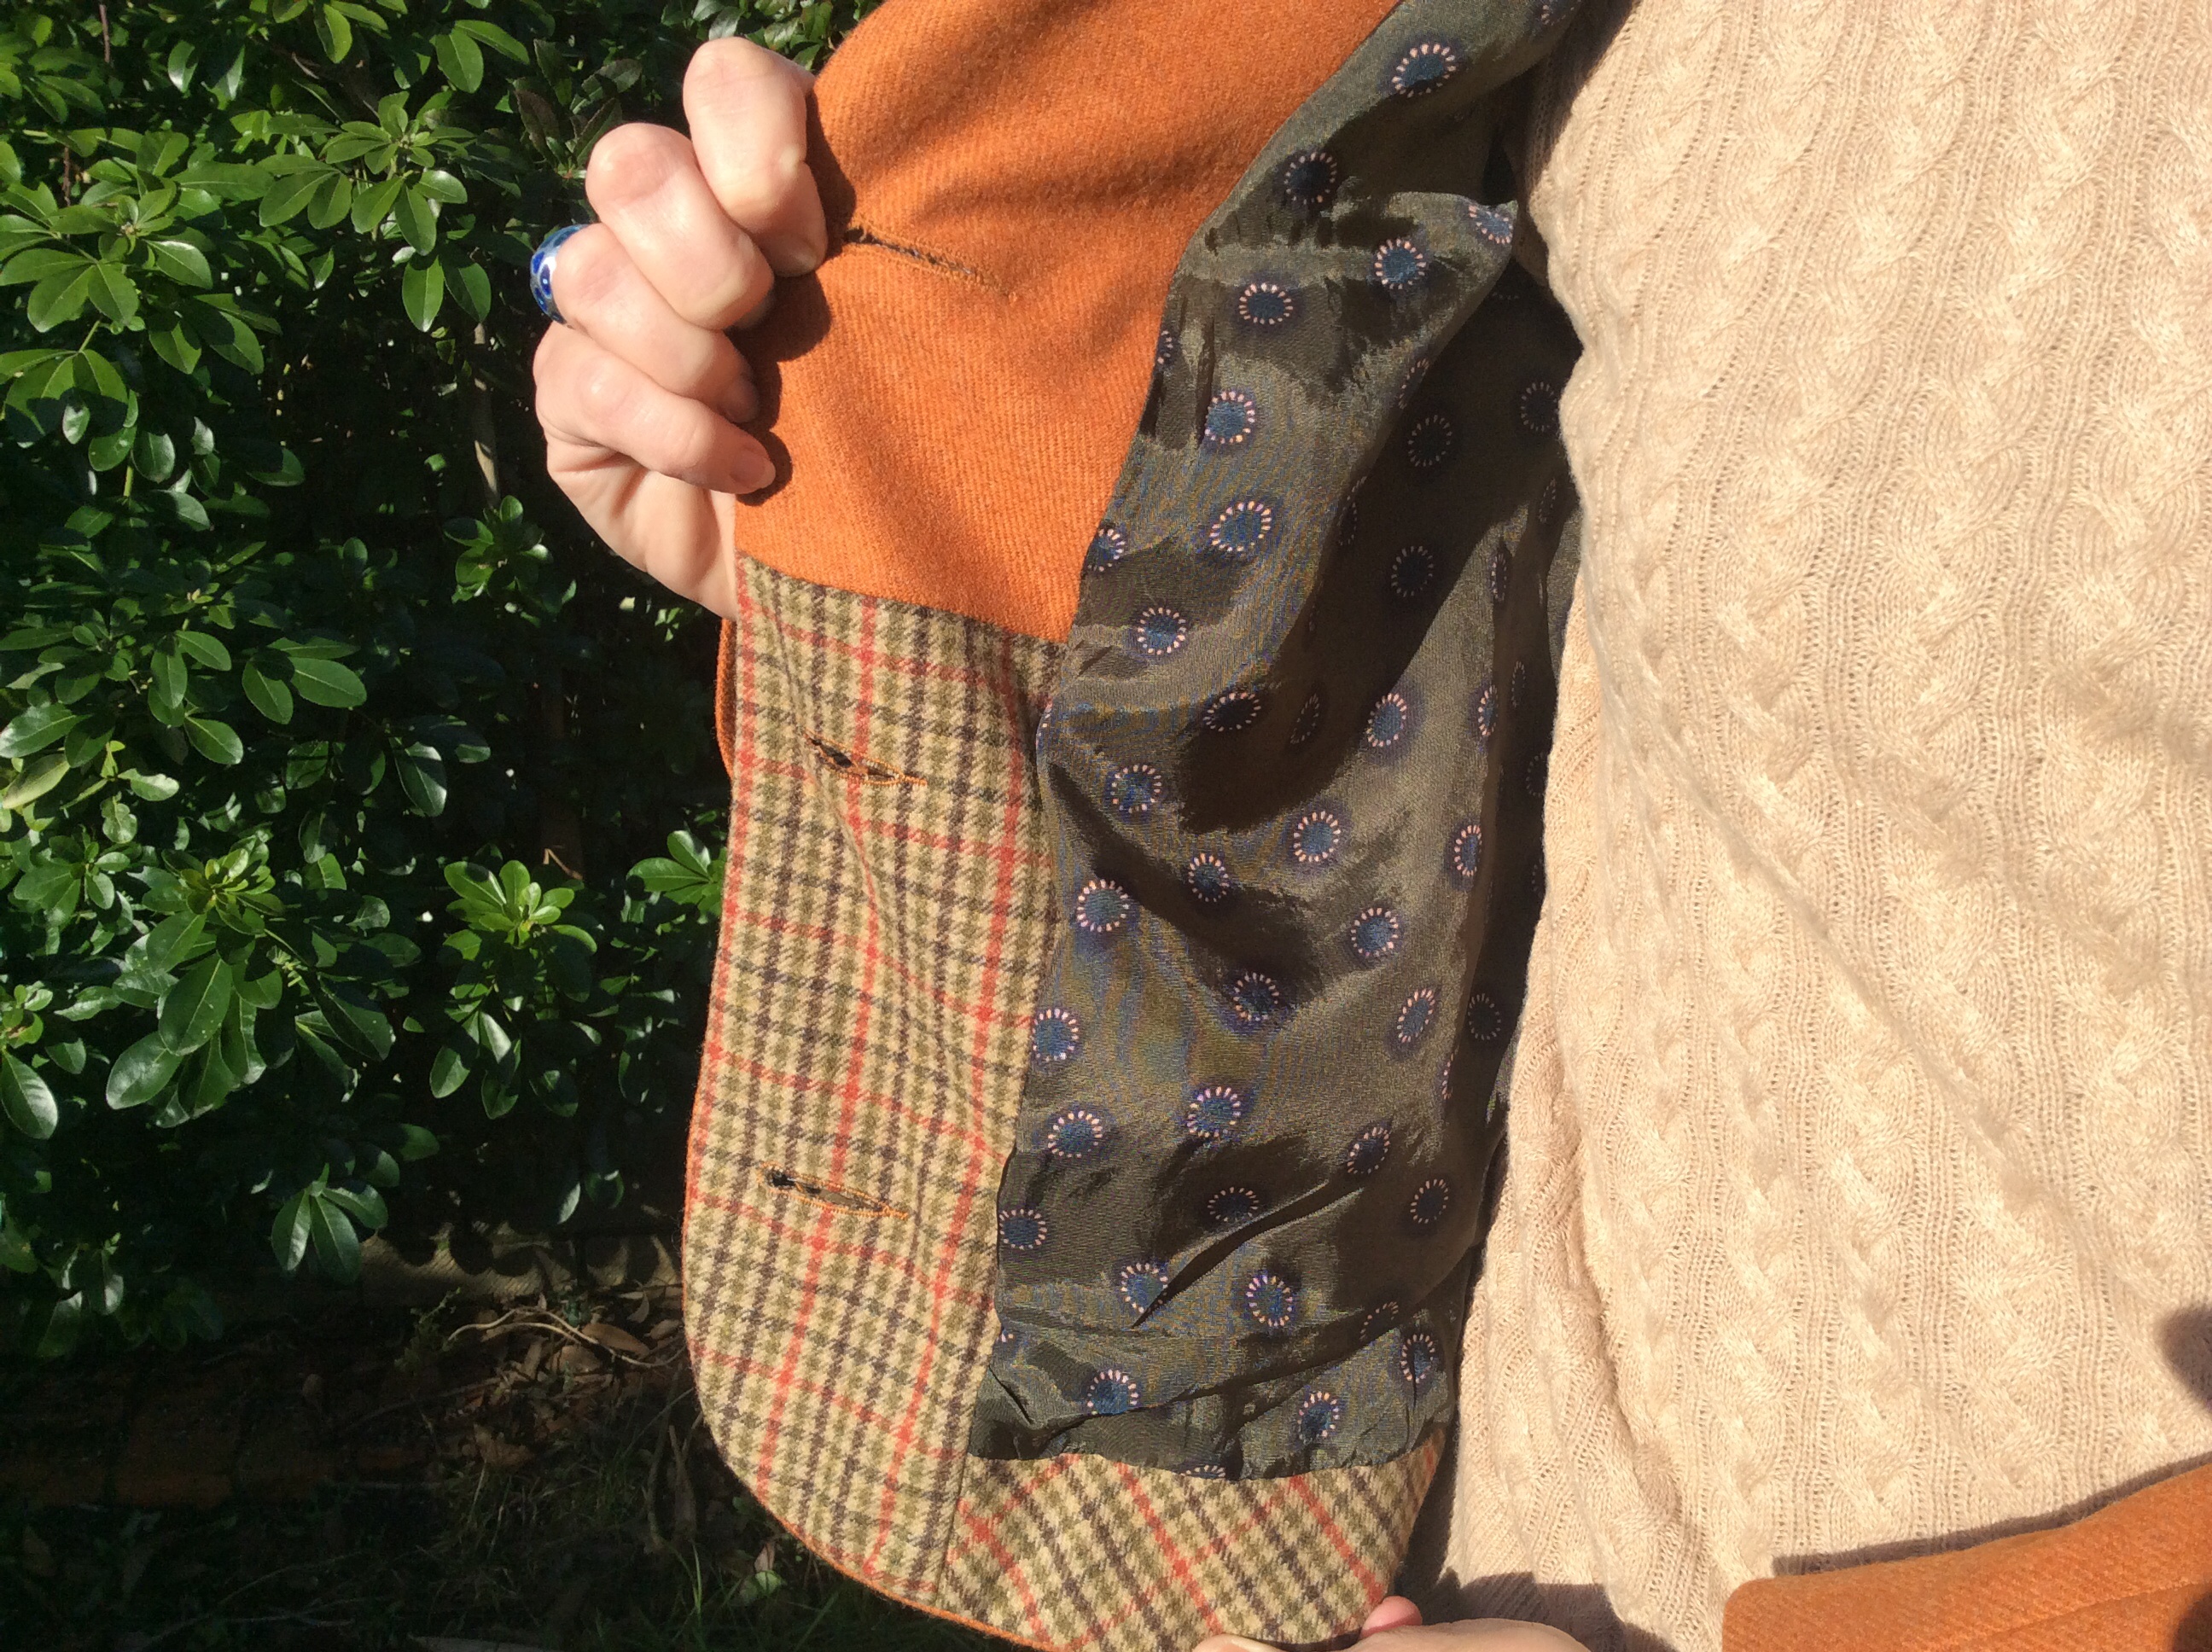
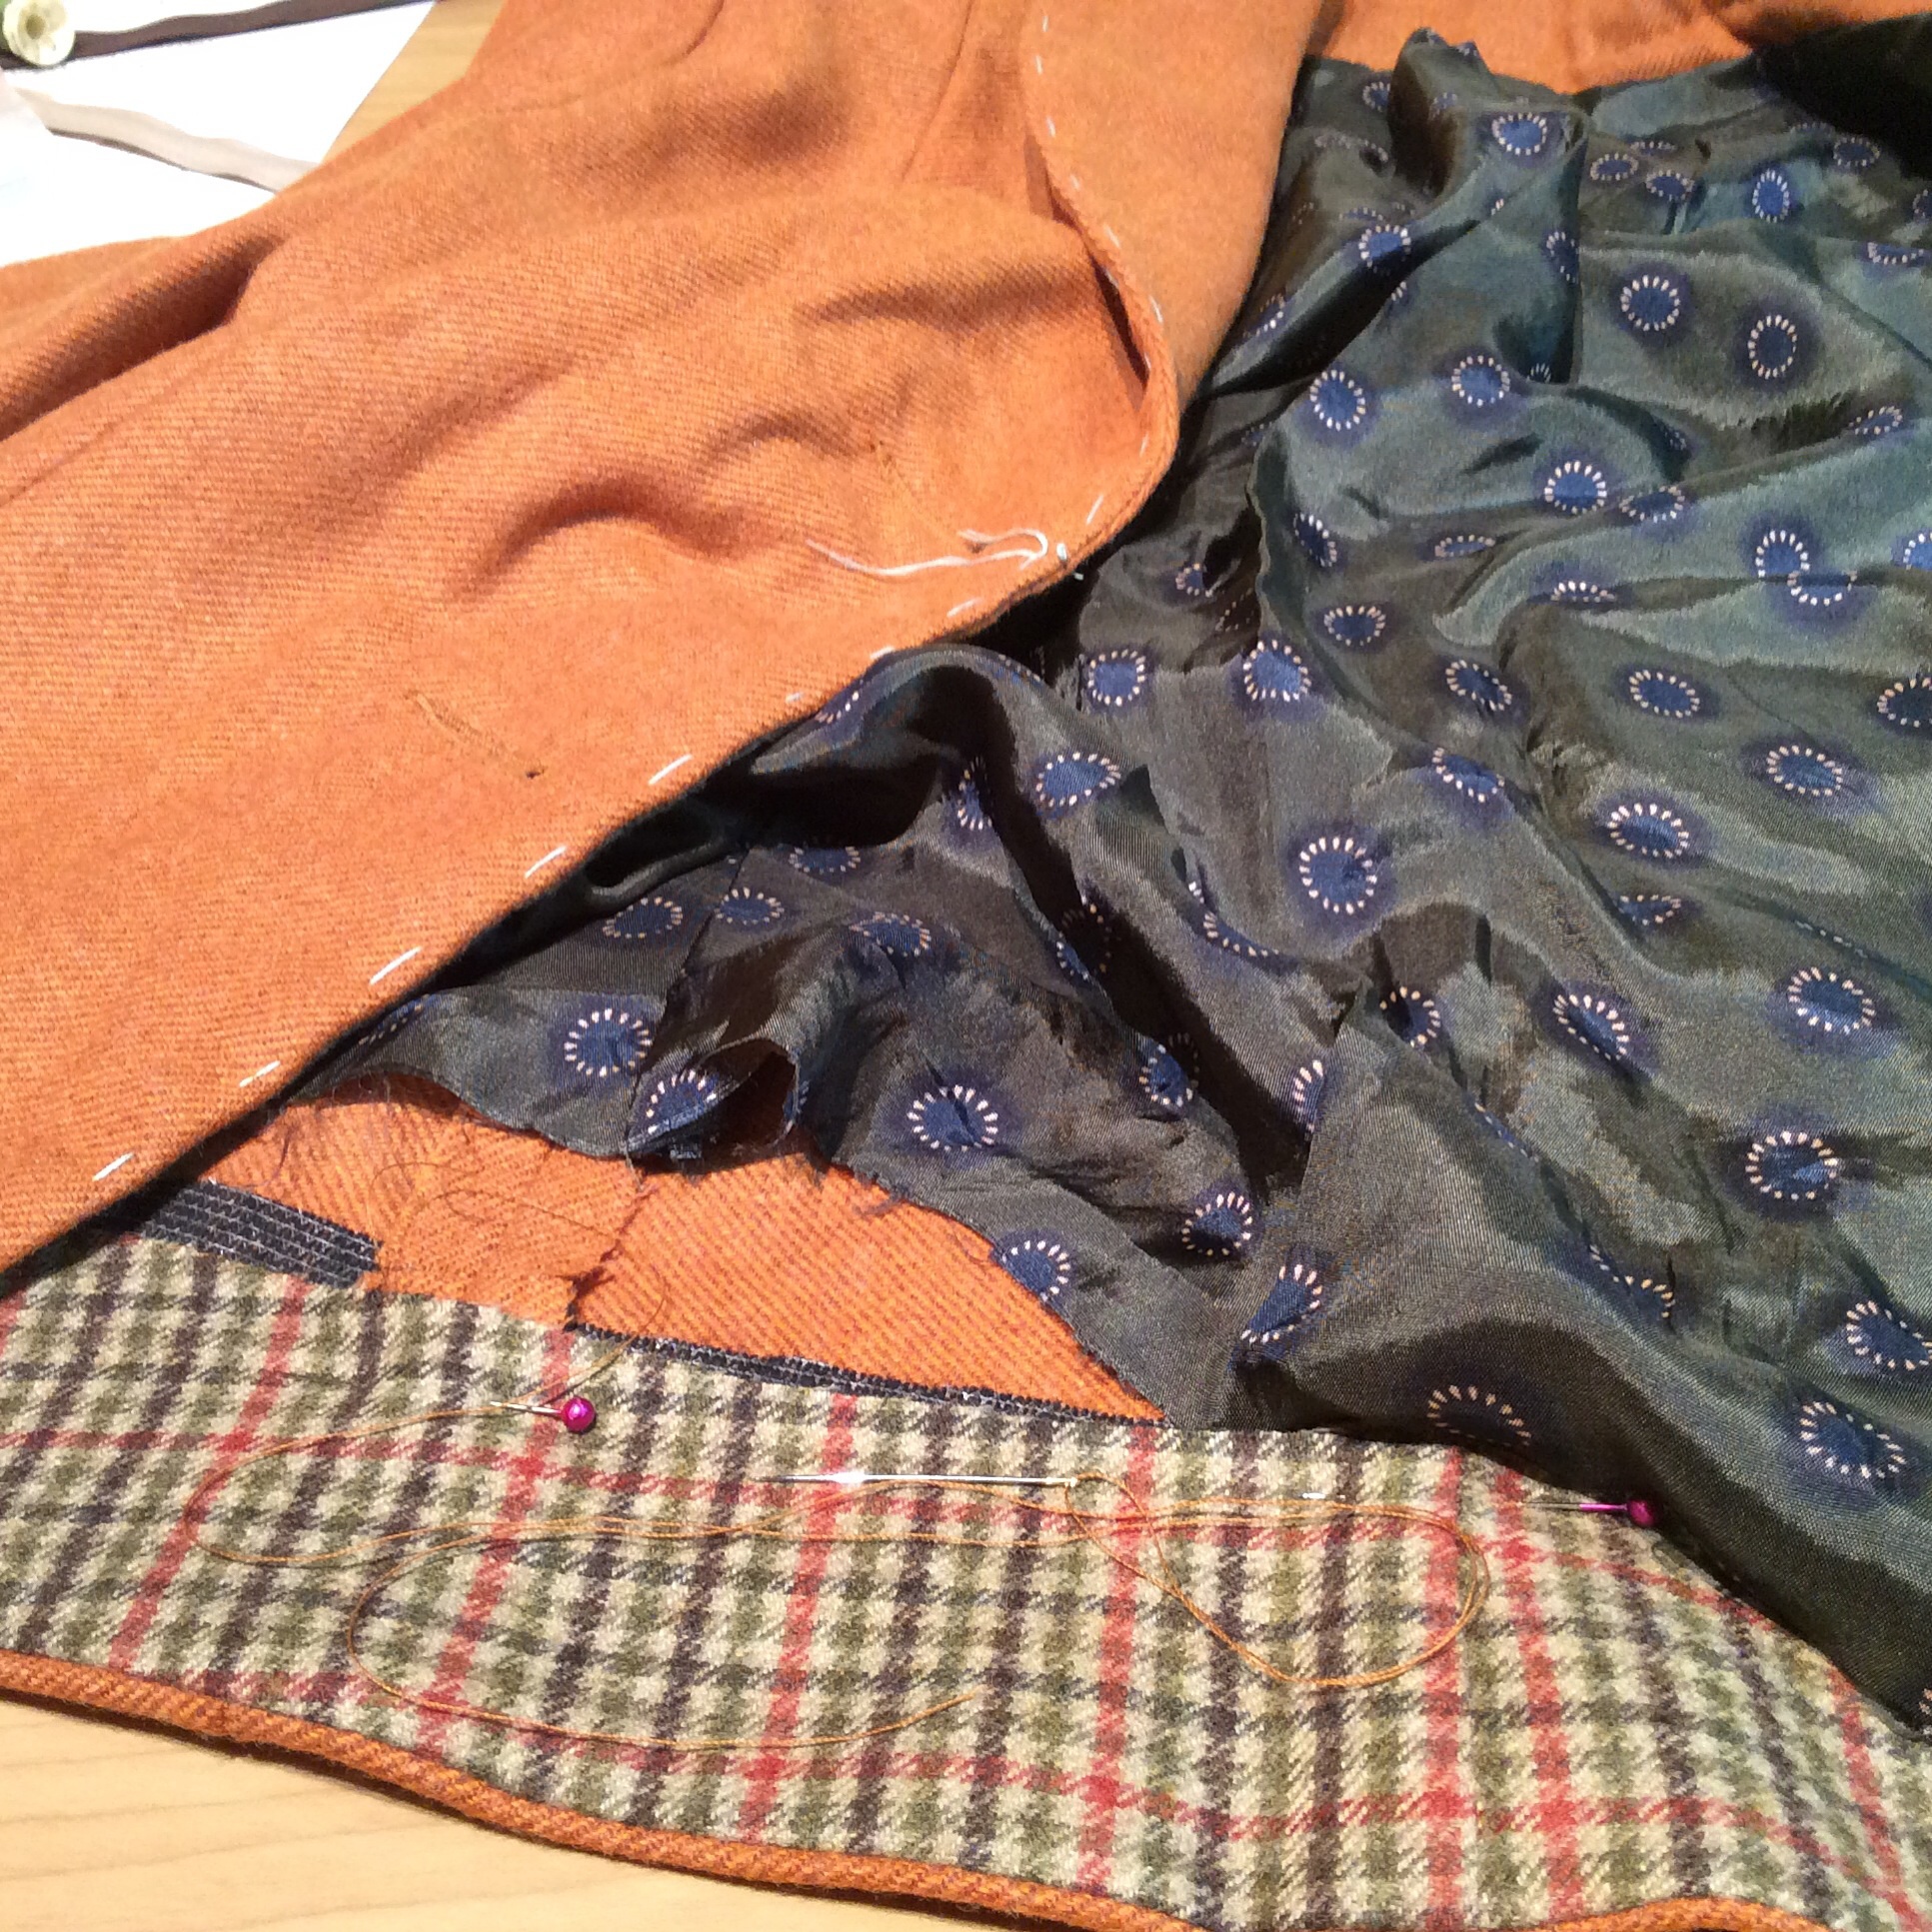
lovely lining which came from Guthrie and Ghani
The story of Francine is concluded – I hope you enjoyed it!

Toodle pip,
Clarinda x

I dont know how I missed this post ! Such a beautiful jacket. The details are really quite amazing – love the contrast undercollar. The outfit with the Gabriola will be quite stunning I think. Looking forward to seeing that.
LikeLike
Great fit! Lovely jacket and lining. Where did the lining fabric come from?
LikeLike
It doesn’t look like you ran out of fabric. It looks perfect! Very clever using alternate fabric to for the facing pieces, etc.
LikeLike
It’s absolutely stunning! The fit is really great on you and it looks so professional. I’ve heard about the button man, even my last sewing teacher has used him for her coats and jackets! x
LikeLike
Wow!!! Great style, you look amazing in your new jacket 😀
LikeLike
Cheers me dears x
LikeLike
Excellent colour on you Ms Clarinda. It’s times like this I wish I were a redhead rather than a boring old brunette! The neckline on this jacket is lovely, so inspired I might just have to get out the wools from my stash!
LikeLike
Beautiful, well done you. It looks fab and love the fabric x
LikeLike
Thank you!
LikeLike
Wow – this is totally gorgeous! What a feat of fabric engineering!! Fantastic.
LikeLike
Ahh, thank you for your fulsome praise!
LikeLike
Fantastic jacket! That Francine pattern is lovely. I wish I had somewhere near me where I could go to do a course like this!!!
LikeLike
There seems to be an increasing number of workshops around. I did travel up to Birmingham for a one day workshop – was really fun and got cheap train tickets. Where do you live?
LikeLike
Your jacket is brilliant!! I love the contrasting facing and under collar. In fact, the under collar is a thing of loveliness – I’ve recently fallen down a collar drafting rabbit hole, so am a bit into collars at the minute! Good luck with your skirt.
LikeLike
Do you think normal people would get that sentence the way we do?!
LikeLike
Super cute jacket – good job!
PS I love William Boyd – thanks for reminding me…
LikeLike
Thank you!
LikeLike
Congratulations – it is a lovely jacket and you learned lots of useful skills! I want one the same!
Louise
LikeLike
Sign up for a class!
LikeLiked by 1 person
Its a beauty, congrats!
xx
LikeLike
Thank you!
LikeLike
I am in awe! It looks wonderful. Well worth the wait and procrastination!
LikeLike
Thanks Lucie – sewing journalist extraordinaire!
LikeLike
Looks fantastic Clarinda! Thank goodness you had that other fabric to enable you to cut it out, the contrast looks really effective. Hope you wear this with pride and looking forward to seeing the full suffragette look 🙂
LikeLike
Yes one of those mishaps which worked out ok – probably next Autumn I should think! Spring is in the air – or it will be as soon as we hit March x
LikeLiked by 1 person
Well done you! Measure your achievement against a Sorbetto or two and you can be really proud!
LikeLike
Yes Sorbettos used to be my absolute fav – actually now I’ve moved on to the Grainline Scout Tee. I do enjoy the quicker makes.
LikeLike
The fit is perfect! It really looks wonderfully taylored and suits you really well!
LikeLike
Thank you – it was really satisfying to finish it. I bought some fabric when we were at Ditto together to make another one but to be honest I don’t know if I will – am quite a fan of the quick project!
LikeLike
Looks amazing, I will have to have a look at that pattern!
LikeLike
The pattern is linked to the workshop – they usually sell them at some point in the future.
LikeLike
What an achievement! I remember you buying that fabric! The neckline is so neat. I hope to see it in real life soon! X
LikeLike
I will probably not wear it until I have made the skirt so it could be a long wait!
LikeLiked by 1 person
Stunning, it may have taken six months but now you can wear it with pride and a smle on your face that you made it. Well done.
LikeLike
It’s funny but when I read your post the other day about being the last one to sew something up I thought to myself Oh no you’re not!
LikeLike
It looks great, congratulations – it has a lovely shape. If you will wear it for years, the time it took to make was well spent.
LikeLike
Thanks – it was drafted from a vintage jacket which belonged to a lady called Francine. I agree – it is a lovely shape.
LikeLike
Well done, what a great achievement! I really like the contrast checked fabric pieces and the solid coloured fabric means you get to see all the lovely design details too. I love the shape of the collar and the back shaping, it looks ace! x
LikeLike
Thanks Jane – I am really pleased with it – makes a change from my usual fretting!
LikeLike